Interactive Calculators
Users can input their own numbers and see real-time calculations based on your formulas.
FinFam Views are interactive financial calculators that you can publish on FinFam, using only your knowledge of spreadsheets. Views let you build interactive web content in Excel, Google Sheets, or LibreOffice Calc. Think of them as a cross between an informational blog post and a financial calculator. Views offer expert input on a specific financial question, while automatically integrating the user’s own financial data.
Watch this quick demo to see Views in action:
This guide will walk you through creating a FinFam View from start to finish.
By the end, you’ll have published your first View that users can access at finfam.app/your-username/views/your-view-slug.
Interactive Calculators
Users can input their own numbers and see real-time calculations based on your formulas.
Expert Knowledge
Share your financial expertise through explanatory content, tips, and guidance.
Collaborative Planning
Users can save their own versions of your View and share them with family or advisors.
Subscribe and Upgrade
Saved views stay subscribed to the original. When you update your View, subscribers get notified and can upgrade with one click while preserving their personal values.
About View Definition: FinFam Views are built using SForm, our custom form definition language on top of the well-established spreadsheet model. SForm evolved from the very mature XLSForm format, itself based on ODK XForm.
SForm is still in its early days and we hope to add many features based on community feedback, so keep us posted if you’ve got ideas!
Before we start building, explore these Views created by FinFam’s team to see what’s possible:
These examples demonstrate most of FinFam’s features and can be referenced as you build your own View.
You can download the source files for these official Views by clicking the “Download Source” button at the top right of each View:
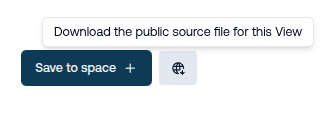
Note: You must be logged in to download the source files.
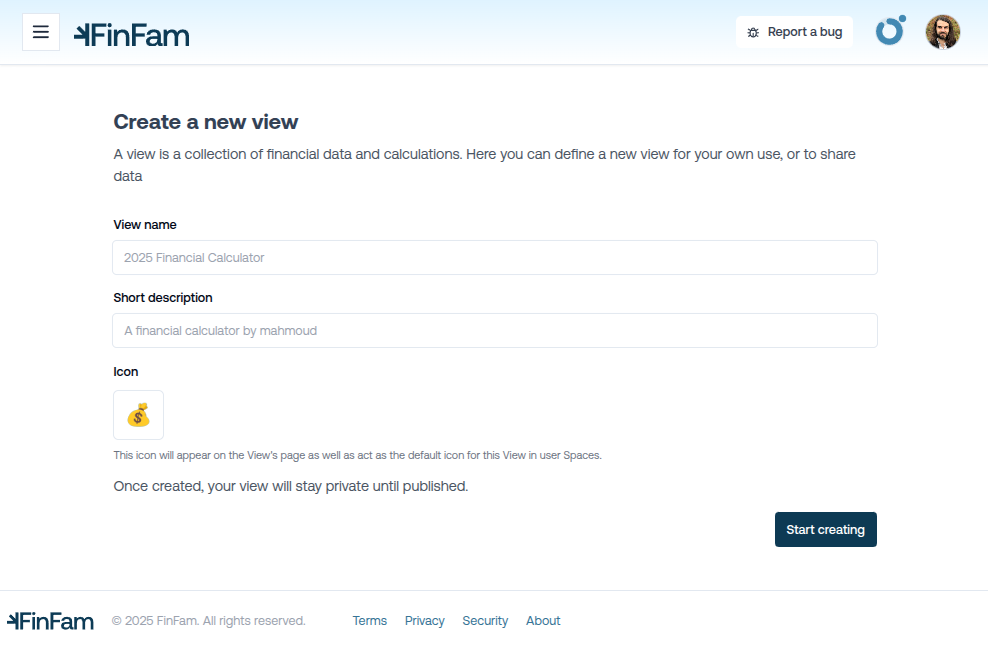
To get started, first create a new View in the FinFam app by visiting the Create View page. You’ll be prompted to login or signup if you’re not already.
Now you can:
All of these details can be updated at any time from the View’s Admin page.
Tip: Pick a focused question. For example, “Should I refinance my mortgage?” is a strong, actionable topic for a View. Whereas “How do I manage my money?” is too broad.
You have two options for building your View:
The default and recommended method for creating a new FinFam View is to have Finn generate a first draft based on your input.
What you’ll need:
The Process:
Iteration and Refinement:
If the generated draft isn’t quite what you need:
Note: All Views start out private. You must explicitly publish them to make them public and discoverable.
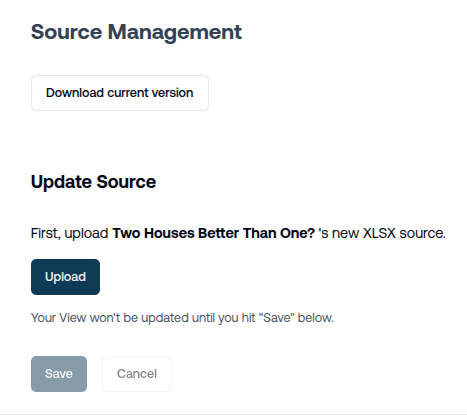
After saving, you can download the XLSX source file and continue refining in your preferred spreadsheet application.
If you prefer full control from the start, skip the AI draft and proceed directly to downloading the template in Step 3.
FinFam provides a template XLSX file that includes all the necessary sheets and structure. Download it from the top right of the View’s page or from the Admin section.
The template includes these key sheets:
calc)This is where most of your work happens.
FinFam views follow a simple and consistent structure. Each row represents a field that users will see.
Column Overview:
type: Field type (input, output, display, content, etc.)name: Unique identifier for the field. Lowercase, alphanumeric and underscores only.label: What users see as the field label, or the Markdown text for a content cell. Feel free to get creative with your emoji!default: The value of the field when the View is first loaded. This can be a formula or a static value. It can reference other field’s default cells, or values in the builtins sheet. Empty for content cells.parameters: Optional parameters for the field, such as a minimum or maximum value for amount fields.hint: Tooltip for this field.There’s also a # column for comments. These are ignored by the View and won’t be shown to users.
FinFam supports a variety of field types to create a rich user experience. Here are the most common:
Fields are for user input by default, but can be made hidden with the hide type modifier, or used for display-only with the calculate modifier.
Content and display fields are used for non-input presentation:
action link, action contact, action sview)For a full list and advanced options, see the View Reference.
Use begin_group and end_group to organize fields into logical sections.
Each group becomes a collapsible section in the web interface.
Use the expert type modifier to mark fields that require financial expertise to understand or use properly.
These fields are hidden by default, and will be shown if the user enables “expert mode” in their View.
A focused View should answer a specific question. Here’s how you might approach the mortgage refinance example:
Question: Should I refinance my current mortgage given today’s rates?
Possible Outputs:
amount output field for this.percent output field for this.text output field for this.Making it Actionable:
action link field with a conditional formula: =IF(savings > 0, "https://lender.com", "").action contact field pointing to a Calendly or email link.You can also include content to help users understand and trust your View. For refinancing, some possibilities include:
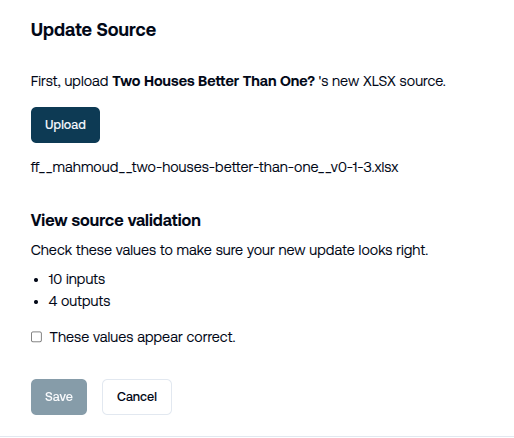
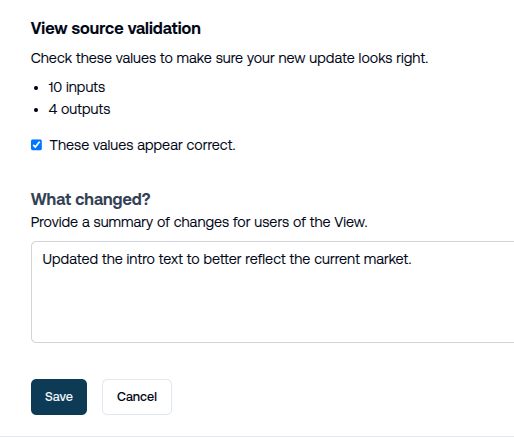
content field for this.content field for this, leveraging Markdown’s list support.image field for this, or a content field and a Markdown image tag to display an external chart.content field for this, with Markdown’s link support.Before uploading, test all calculations and formulas. FinFam does some basic validation of your View at upload time, but it’s a good idea to test it thoroughly. You can upload your View and check the Preview to see how it looks, and adjust as needed before publishing.
Note: If using the XLSX upload method, be sure to increment the version number in the
settingssheet.
Once you’re happy with your View, you can publish it by clicking the “Publish” button in the Admin section.
Your View will be accessible to all at finfam.app/your-username/views/your-view-slug.
It will also appear in the FinFam Explore Views page.
Congratulations!
You’ve created your first FinFam View!
Once published, you can share the link to your View with folks all over the web. Users do not need to have a FinFam account to read and interact with your View.
When a user finds your View helpful and wants to keep their own personalized version, they can save an instance of it to their planning space. Most spaces are private, but here’s an example of a public saved view.
When you update your View with new insights, better calculations, or improved guidance:
This workflow scales expert knowledge while embracing the fundamentals of human social trust. It uses interaction models proven by App Stores, GitHub, and Wikipedia to help your insights reach more people effectively.
You can make updates to your View at any time. Follow the same steps to keep your View reflective of your latest thinking.
Tip: Removing, renaming, or changing the type of user-visible input fields can “break” upgrades for users who have already saved their own values. Other updates, such as adding new fields, updating labels, defaults, and hints is totally fine.
Remember: The best Views combine your financial expertise with clear, actionable guidance that helps users make better decisions. Start simple and iterate.